

A Guide to DIY Flower Arranging
David Burtka shares his tips on how to make your own beautiful winter bouquets and centerpieces.
A PRIMER ON THE PERFECT POSY
Whether it’s a centerpiece for a holiday dinner, a gift for a party host or something special to give a loved one, creating a memorable floral arrangement is so much easier than you think. More affordable, too.
Step 1: Use natural resources around you. They’re everywhere and they’re free! If it’s the holiday season, go to a park or nearby woods and grab some fallen pine branches. Get some evergreen fern leaves and pinecones, too, if you can. If you can’t find any pine branches, go to a Christmas tree vendor in your area just before they close up for the evening, and ask for their scrap branches — you’ll likely get them for free, but at worst, they’ll only cost a couple of dollars.
Step 2: Captivate with color. The pine branches and fern leaves you secured will provide a gorgeous, deep green color base. You’ll want to complement that with deep reds, whites and metallics.
Fallen branches with foliage still on them are free, plentiful and often bursting with color.
Don’t worry if you can’t scavenge any, or if the foliage is dull. A can of spray paint will provide all the pop you need. Go to your local hardware store or craft shop (or this handy link) and pick up a can of shiny gold, copper or silver spray paint, and use it to color those pinecones or dull leaves you gathered. Finally, grab two or three small ball ornaments from your Christmas tree (again, stick to the red, white or metallic color palate). Using a bit of wire, tie the cones and ornaments to bamboo skewers — the ones you use for grilling. You’ll add them to your arrangement later.
Want to go extra bold? Consider spray painting a boring vase as well. Over-the-top color isn’t for everyone, but paint can turn an old, drab vase into something magical.
Step 3: Find your flowers. At this point, with your green base and bright colors, it’s time to choose your flowers. You don’t need to go crazy! Because we’ve put together a fulsome foundation of pine, other branches, pinecones and ornaments, your flowers are an accent, not the star of the show. Fifteen bucks at your supermarket or corner bodega is more than enough. A handful of roses would be great. Tulips are lovely. Even carnations will work.
- Flower tip #1: Always strip the leaves off your flowers. They take a lot of the nutrients from the water, and when they’re submerged, they rot quickly and foul the water.
- Flower tip #2: To perk up roses, take the outside petals off and gently blow on the top of the flower. It’ll puff right up! You also can fold the petals down and under the bloom to make the rose look fuller.
Step 4: Assemble. Take your pine, ferns and foliage branches, and then cut them to slightly varying lengths — no more than a 3-inch difference between the longest and shortest. Then arrange them with the tallest branches in the center and the shortest around the rim of your vase. This will create fullness. Now it’s time to trim your flowers. First, view the arrangement from all sides, then above. Use your flowers to fill in any holes, or provide a needed burst of color. Remember to vary the lengths to create fullness; the entire arrangement should cascade down to create a round dome. Lastly, fill in any remaining empty spots with your ornaments and/or pinecones.
POWER PLANTS
If the floral project above is too much for you, an orchid arrangement is super simple, and the epitome of elegance.
Pick up 2 or 3 small orchids from a shop — you can buy them for $10 – $15 each at Lowe’s, Ikea, Home Depot, even many grocery stores. You don’t need to spend money on pricey flower shop orchids.
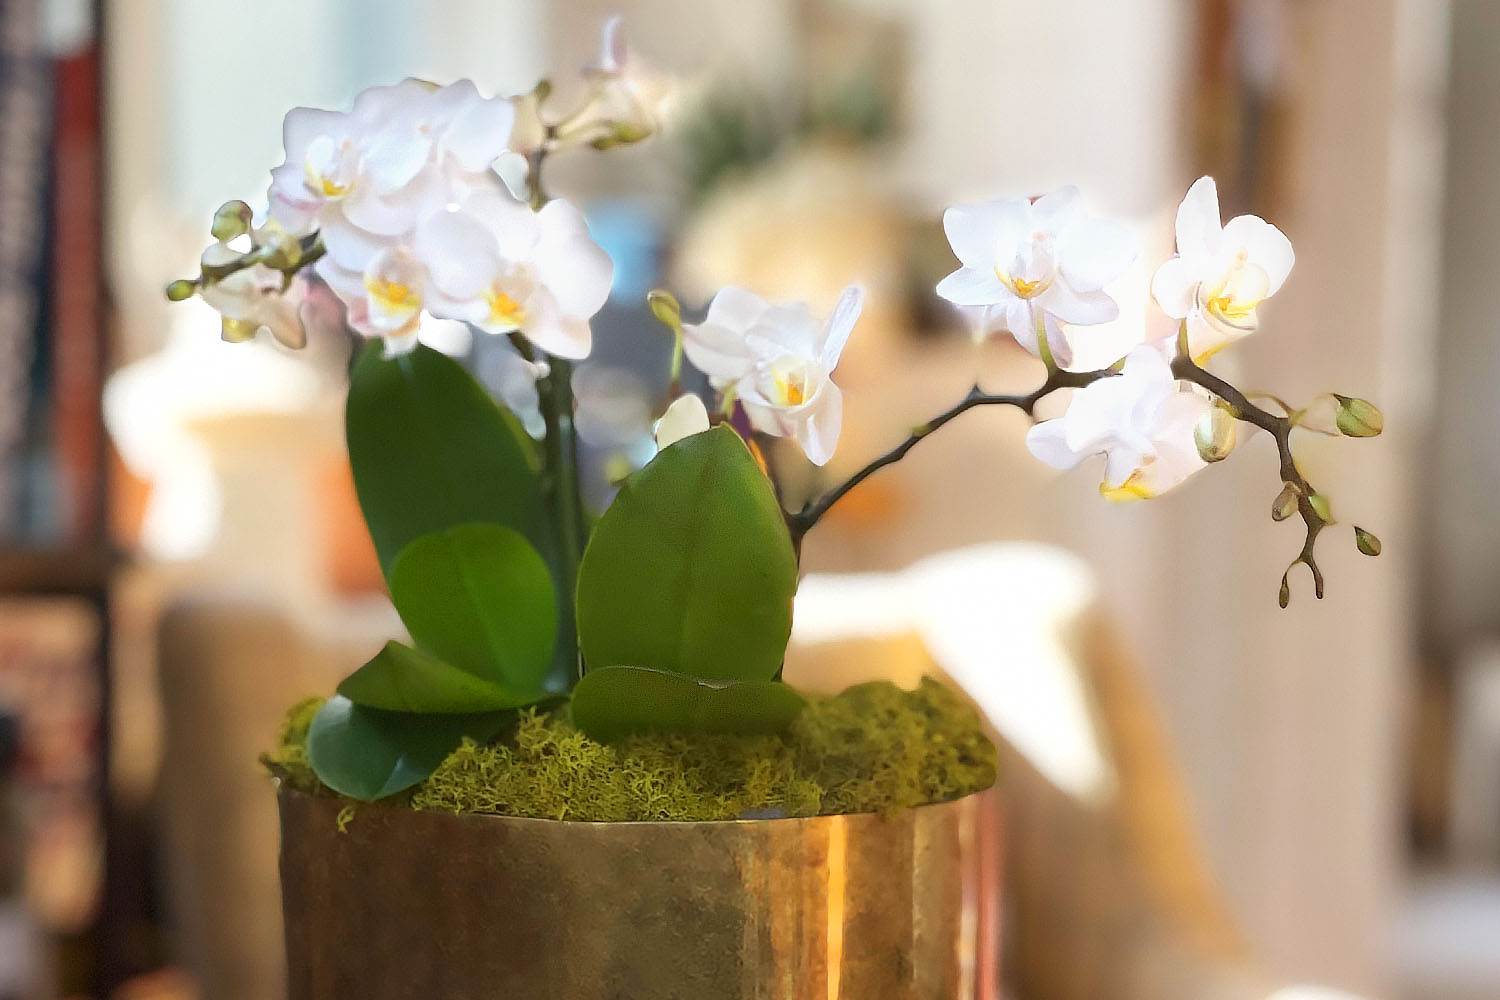
Find yourself a great vessel with a wide mouth (like I did with Neil…); you’ll want something with a radius of roughly a foot to a foot-and-a-half. (I love buying old vases and bowls at thrift shops or yard sales. They’re never more than a few dollars, and if they’re beaten up, I’ll spray paint them in a gorgeous color — see above — or wrap them in craft paper or big-leafed greenery, and no one will ever know!) Then go to a garden center or florist and pick up some moss and a few small rocks.
De-pot your orchids and crowd them in your vessel. Then gently fill in the holes in between the plants with the rocks and moss. Lay some more moss on top of the roots, all the way to the edges of the vessel. I made this arrangement out of two $12 orchids from Trader Joe’s and a brass tin I had in a closet. I added a little moss on top, and it looks great and super professional.
You can do the same thing — even more cost-efficiently — with succulents. $20 will get you anywhere from three to a half-dozen succulents at virtually any nursery or home design improvement store. De-pot those and put them in a wide-mouthed vessel or bowl with some rocks at the bottom and a thin layer of dirt, and you’re all set. It doesn’t need drainage — heck, it barely needs water. It’s so elegant and so easy.


